Widget Container
The Widget Container is different from the other containers, as it features several out-of-the-box interactive widgets that you can display on your cast. There are a variety of helpful widgets that can be used if you require certain interactive features. Additionally, it has the ability to display websites of your choosing.
Alert Widget
Appearance:
The alert widget is an interactive widget that notifies the appropriate personnel
when assistance or action is needed.
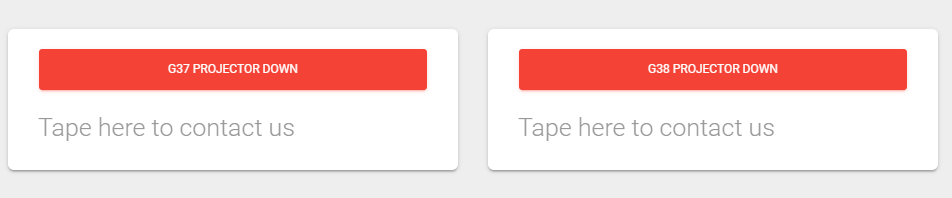
Example: A button labeled “Projector Down” that you press to notify the IT
department that a projector is not working and needs repairs.
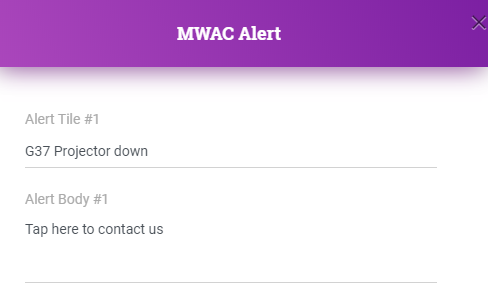
When adding a new Alert Widget, you will need to provide contact details. This will be where the alerts are sent to.

After creating the widget, selecting ‘Add alert tiles’ on the new widget will allow
you to define the different alerts that a visitor can pick from.
Happy Face Widget
Appearance:
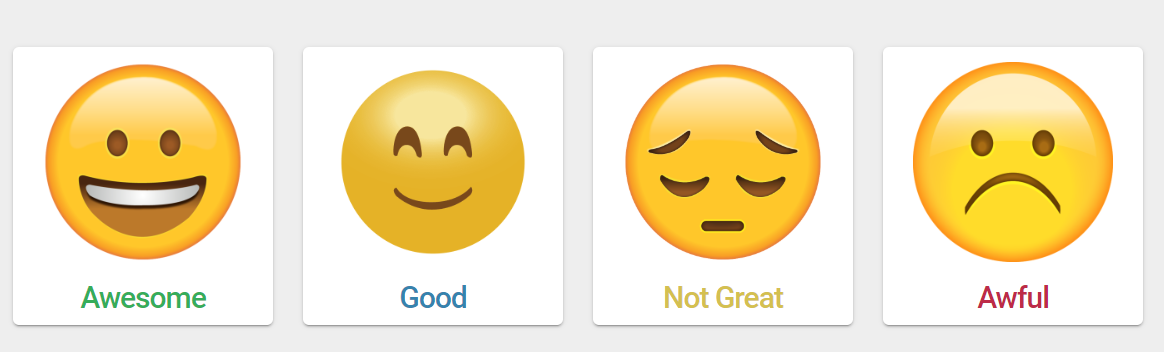
The Happy Face Widget is used to gather visitor feedback on your faculty. A
visitor can select a rating to give to your faculty, and one or more reasons why
they chose that rating.
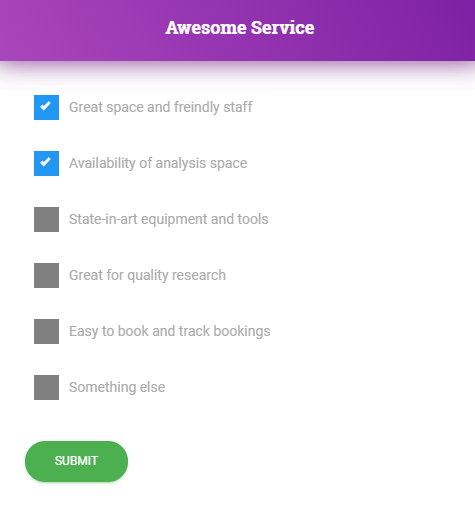
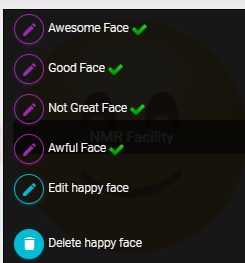
Example: The ‘Awesome’ button expands to show a list of reasons why
the faculty is awesome, and the user can tick one or more reasons to send
as feedback. This example will look like this:
When you add a Happy Face Widget, the location you provide is used to identify what area the feedback is meant for.
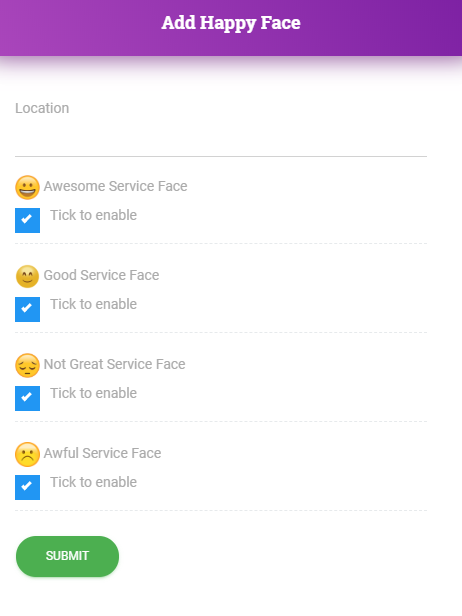
After creation, editing the specific ‘Face’ will let you add reasons that a visitor can pick from.
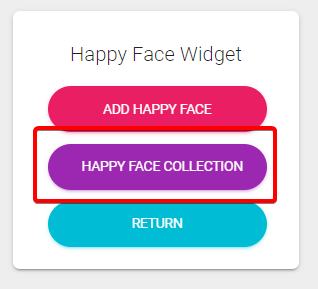
You can view gathered data at the “Happy Face Collections” page, accessible from the container page. The widget records each location’s selected faces, reasons, and timestamp.
The data can be exported as a CSV, Excel or PDF. Copy and print functions are also provided.
Sign-In Widget
Appearance:
The Sign-In widget is used to keep track of visitors to your faculty. It provides
check-in and check-out functionality, making it ideal as a supporting device for
an area that receives many visitors. Visitor logs are recorded for future
reference.
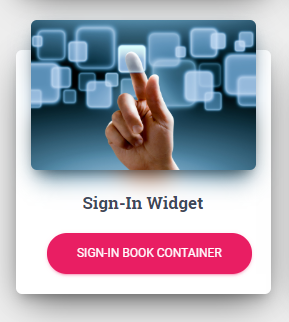
Example: A Sign-In device mounted outside an office that checks-in visitors, as well as their organization. Visitors check-out when they leave.
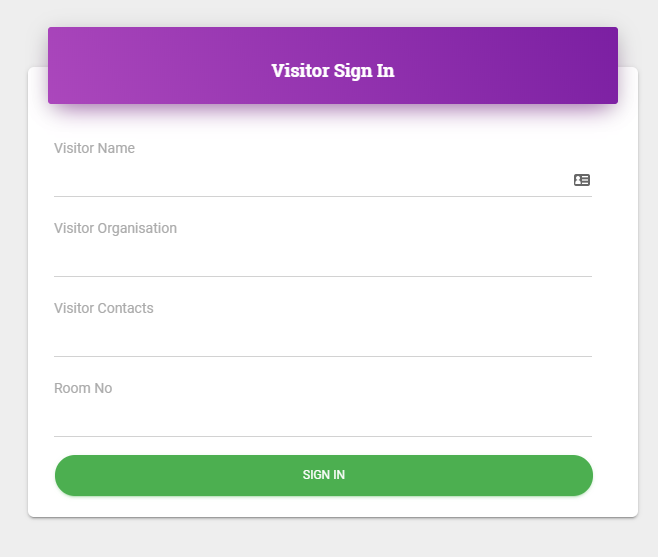
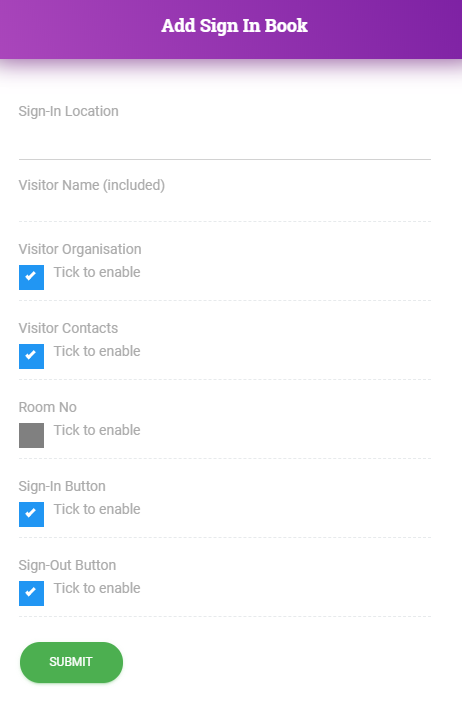
When adding a Sign-In location, there are several options to choose from. The Visitor Name option is always selected by default. The other options are additional fields that the visitor will have to fill in when they check-in.
After creation, you can view the chosen options and edit them. You are also given the option to reset the sign-in cache, which removes out-of-date sign-ins that should not be there.
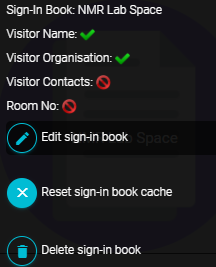
Clicking the ‘Visitor Sign-In Logs’ button on the Sign-In Widget page will provide a log of sign-in information for each visitor that has checked-in.
Website Widget
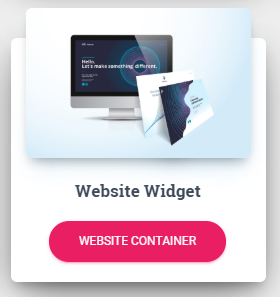
The Website Widget allows you to display any website as a cast. Functionality is similar to other file containers, and it can be shared like other containers
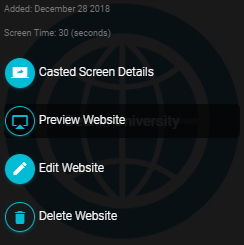
- Casted Screen Details - provides a preview of the website as a cast
- Preview Website - provides a preview of the website
- Edit Website - change the website display interval
- Delete Website - removes the website from your container
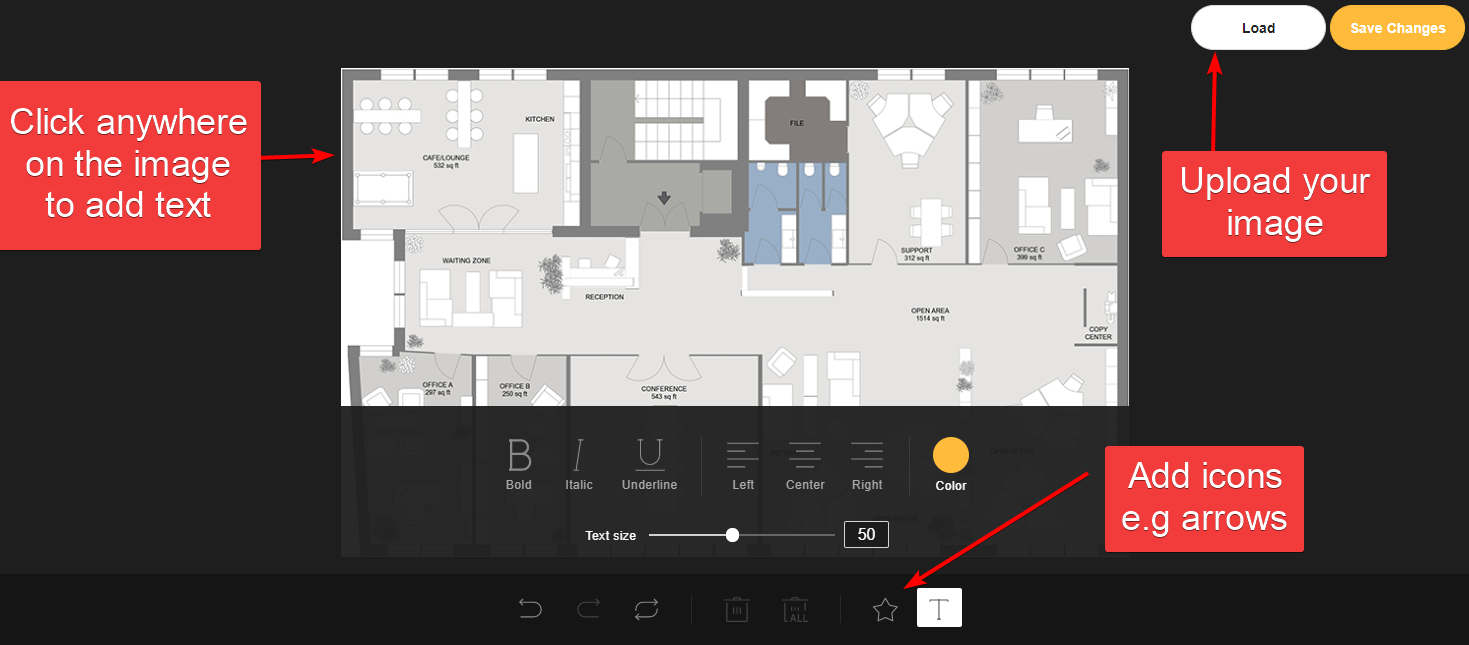
Image Label Widget

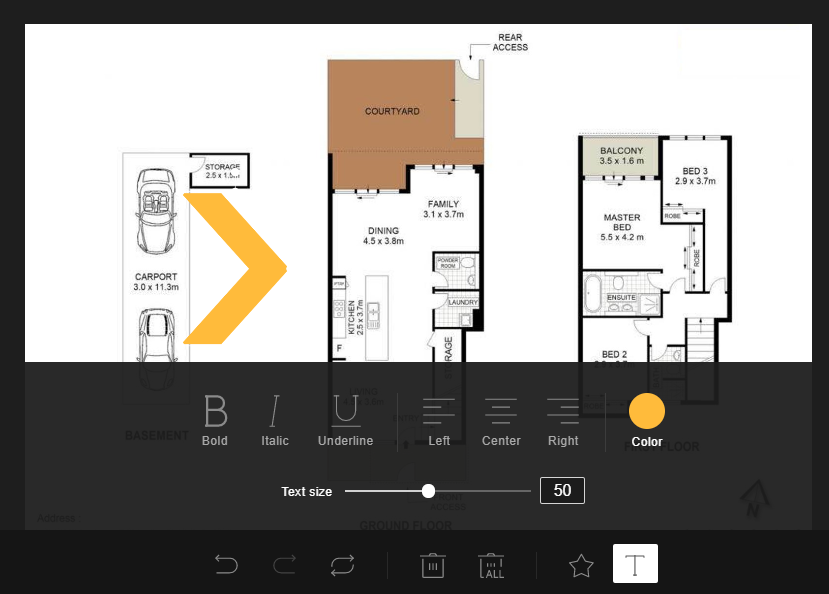
The Image label widget is a tool used to add captions, iconography, arrows and other labels to your image. For example, you can upload a map of your lab and use this widget to circle the fire exit.
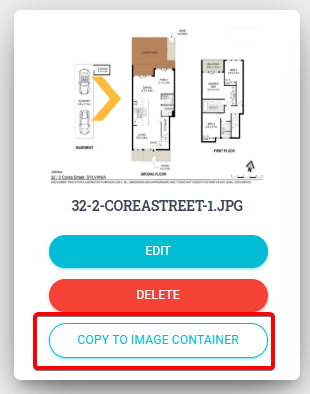
Once you have finished your changes and saved them, press ‘Copy to image container’. This will add your labeled image to the jpg container. It is now able to be used in image casts.
Consumable QR Widget
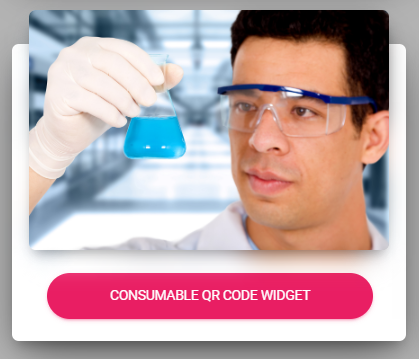
This widget connects with ACLS.
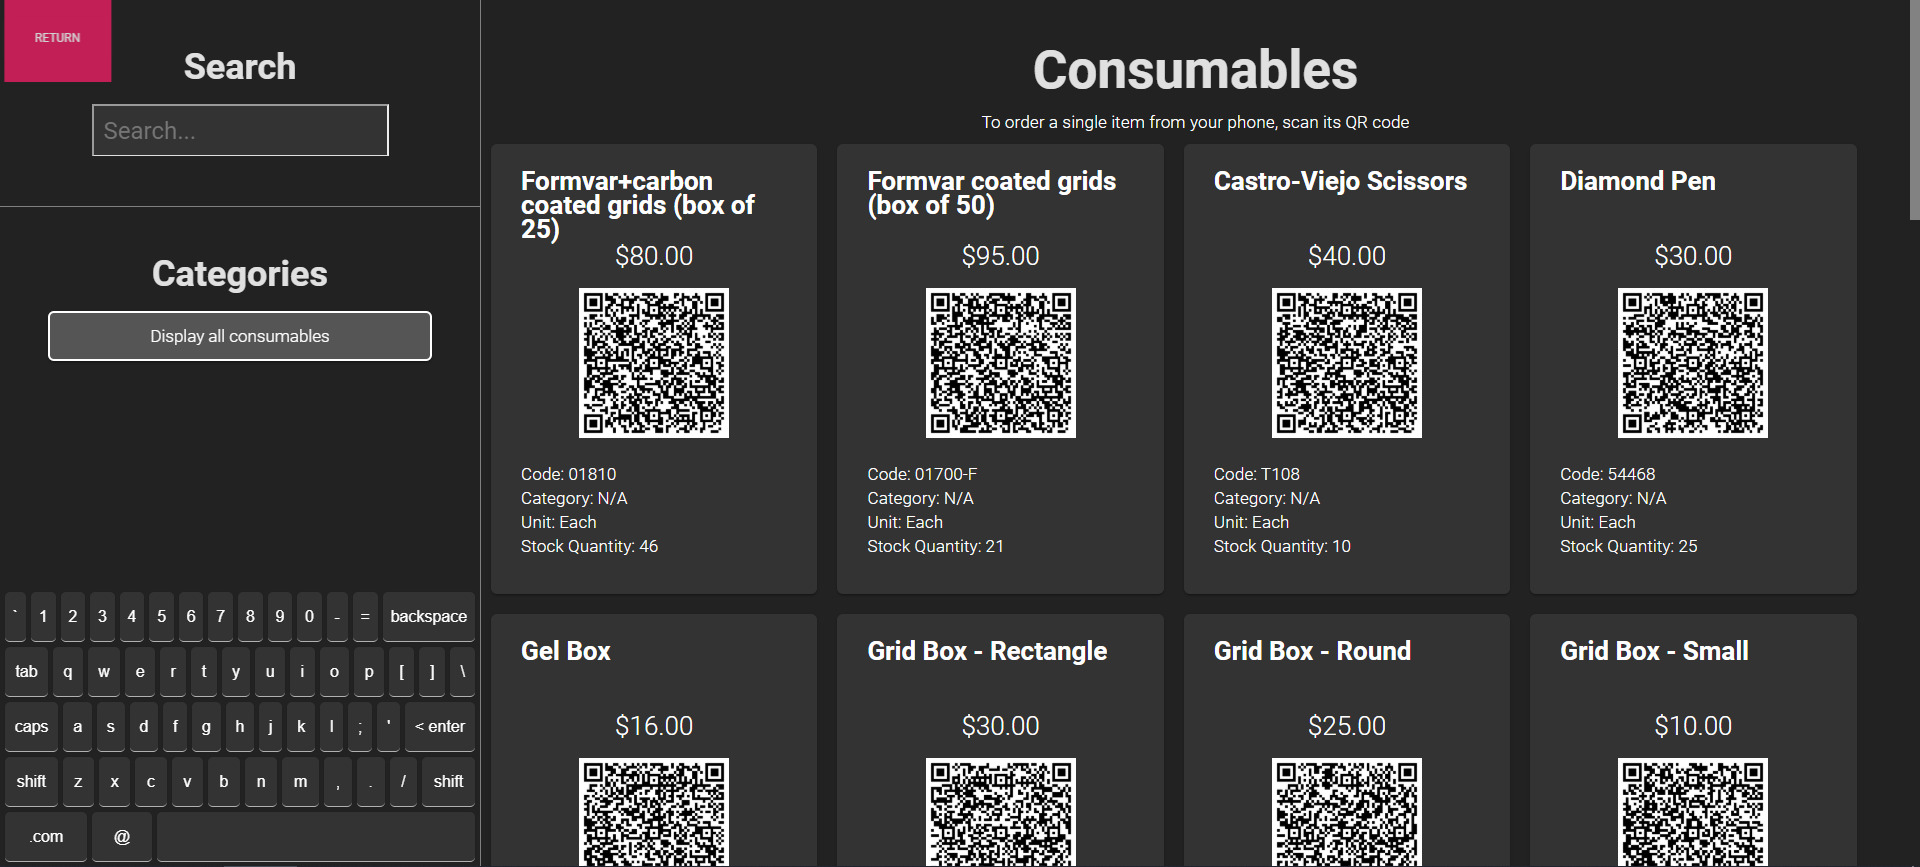
The Consumable QR Code Widget will display an interactive interface that integrates with your faculty’s ACLS consumable orders page. It will display your faculty’s consumable order page, including price, stock, units and order information. The kiosk user can scroll down the page and find more consumables by dragging the touch screen. This creates a new way for users to order consumable items.
The QR code displayed by each item corresponds to the QR code displayed by the ACLS consumable page. When a user scans a QR code on their phone, they are taken to an order form on their phone that requires them to log in. They can order the consumable from their phone after logging in, and the purchase is logged with their account.
The search feature is real-time and allows the kiosk user to type in any keyword to find a specific consumable. Consumables will be filtered based on name. The on-screen keyboard is used to type keywords into the search bar.
The kiosk user can also filter consumables by a specific category.
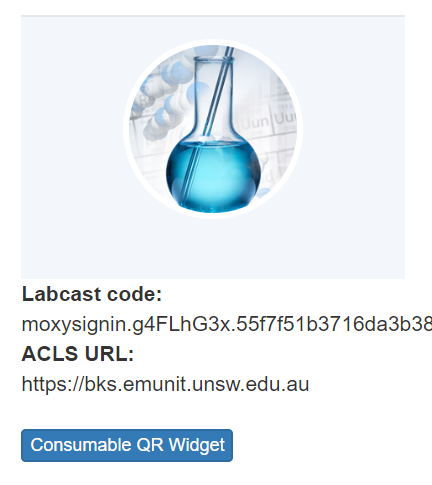
To add ACLS integration:
- Log into ACLS and navigate to your faculty’s Booking page
- Select ‘My Labcasts’ in the LabCasts section
- Copy and paste the Labcast code and ACLS url for the appropriate widget. For this case, it is the Consumable QR Widget.
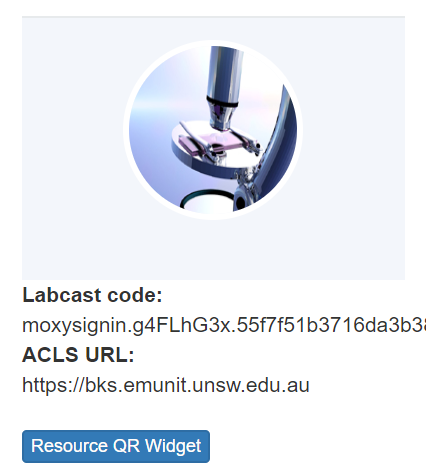
Resource QR Widget
This widget connects with ACLS.
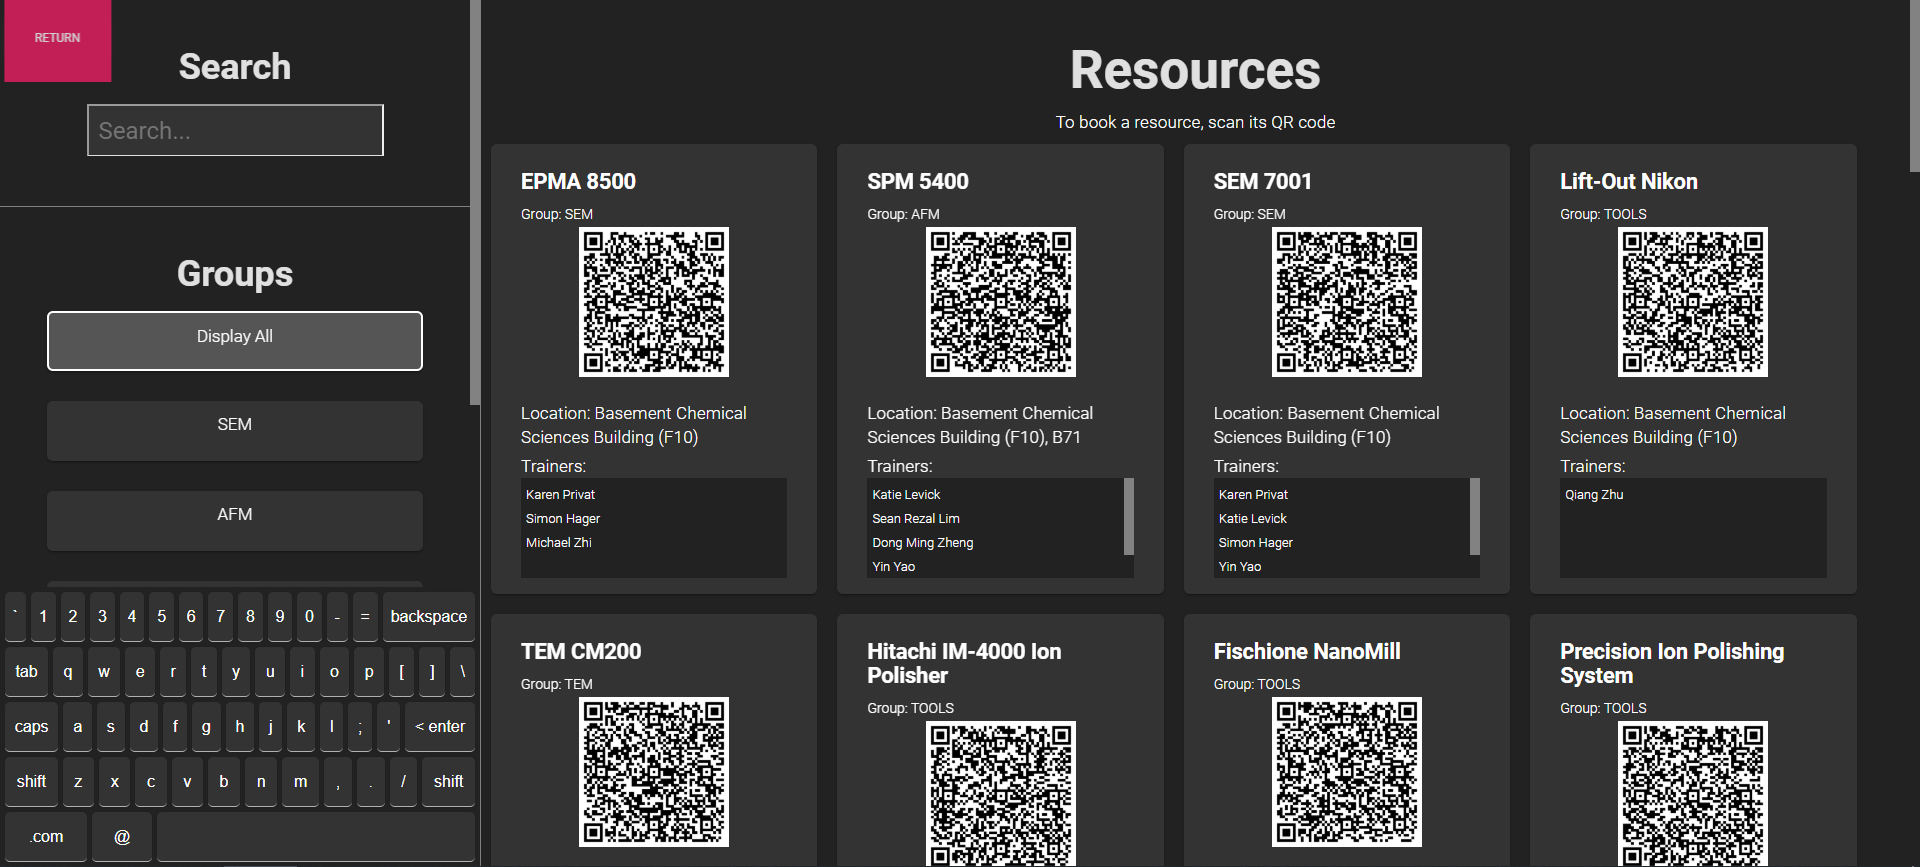
The Resource QR Code Widget will display an interactive interface that integrates with your faculty’s ACLS resource catalogue page. It will display your faculty’s resource page, along with location and resource trainers. The kiosk user can scroll down the page to view all resources by dragging the touch screen. This creates a new way for users to book resources.
The QR code displayed by each item corresponds to the QR code displayed by the ACLS resource catalogue page. When a user scans a QR code on their phone, they are taken to a booking form on their phone that requires them to log in.
The search feature is real-time and allows the kiosk user to type in any keyword to find a specific resource. Resources will be filtered based on name. The on-screen keyboard is used to type keywords into the search bar.
The kiosk user can also filter resources by a specific category. You can filter by sub-category as well. If filtering by a category that contains sub-categories, the filter will retain all resources across the sub-categories.
To add ACLS integration:
- Log into ACLS and navigate to your faculty’s Booking page
- Select ‘My Labcasts’ in the LabCasts section
- Copy and paste the Labcast code and ACLS url for the appropriate widget. For this case, it is the Resource QR Widget.